Did you see my last post about a book I found when we were clearing out my father's house?
Today I wanted to try out one of the recipes from the book. For some reason my friends and family don't like the sound of some of the recipes, so I went with something that was traditional but with a little twist. Ginger Shortbread.
The first problem was working out how much a breakfastcup is. I know a cup was supposed to be 8 ounces, which would work out to 225ml, but modern cup measures used in kitchens are 250ml. I wondered if a breakfast cup was more or less than a normal cup. First of all I found a kitchenware place that still makes banqueting sets and so on, and has all the sizes, and sure enough, from their measurements a breakfast cup is LARGER than a teacup. But how much larger?
Finally, after more research, I found a site of kitchen conversions that listed breakfast cups. Breakfast cups appear around 1/3 of the way down that page and are listed as 10 fl oz or just under 300ml. Remembering that most farmhouse kitchens will not have had proper measuring sets and will have used what they had on hand, I went ahead with an estimation.
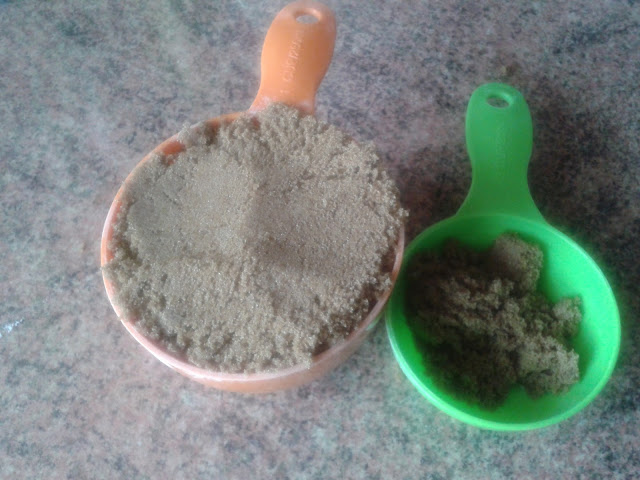
So, for each breakfast cup required, I used 1 modern cup plus a heaped dessertspoon. First the flour
Then the brown sugar
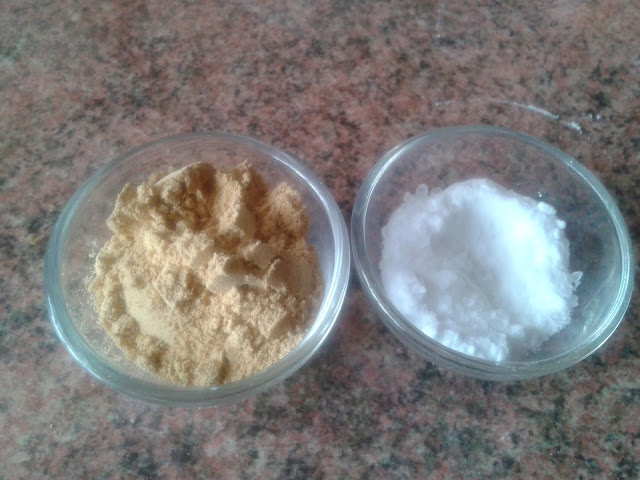
The other dry ingredients, ginger, salt and bicarbonate of soda (baking soda to my American friends). Oh BTW I love my dinky little pinch pots!
A pack of butter used to be 8 ounces, but you can see that with modern times meaning metric, they now weigh more.
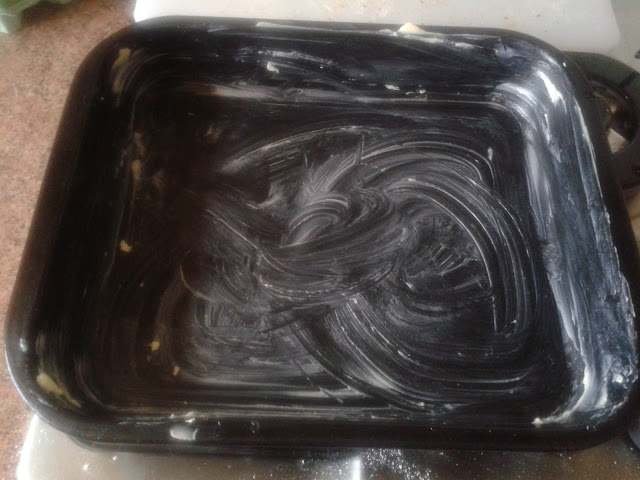
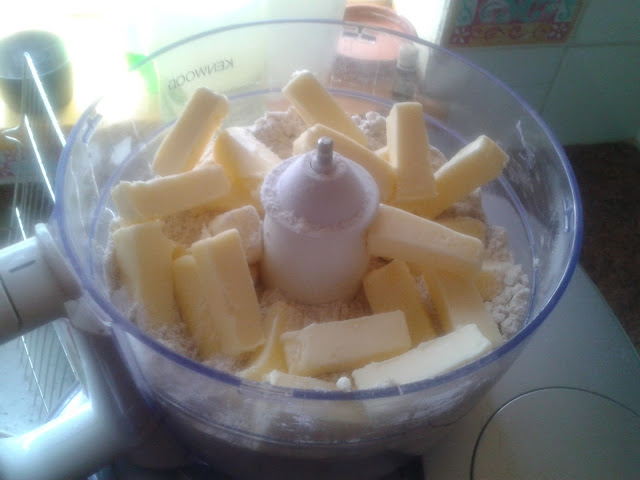
So, I decided that I would use a slice off the end to grease the baking tin and then use the rest in the shortbread. And the baking tin. What is a dripping tin? How big is it? I just went with what I thought would work.
So, let's make gingerbread!
GINGER SHORTBREAD
2 breakfastcupfuls of flour.
1 breakfastcupful of moist brown sugar (this is important as white sugar won't make it).
½ lb. butter.
Pinch of salt.
2 teaspoonfuls, ground ginger.
1 small teaspoonful bi-carbonate of soda.
Mix all dry ingredients together, work in the butter until the whole becomes crumbly. Spread evenly in a well-greased dripping-tin and bake in a moderate oven for 3/4 hour. Cut into fingers while warm and lift gently from tin with knife-blade.
This is an economical shortbread which is quickly made, and is a good stand-by as it keeps well in tins.
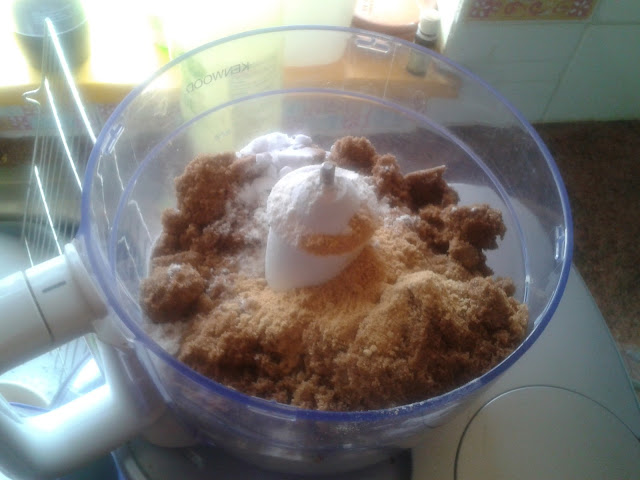
From Mrs. M. E. Glover, Lane Head Farm, Brough, Westmorland. This is where I cheated and, well, used a bit of modern technology.
Forgot to take a photo after it was mixed and before I put it in the tin, sorry.
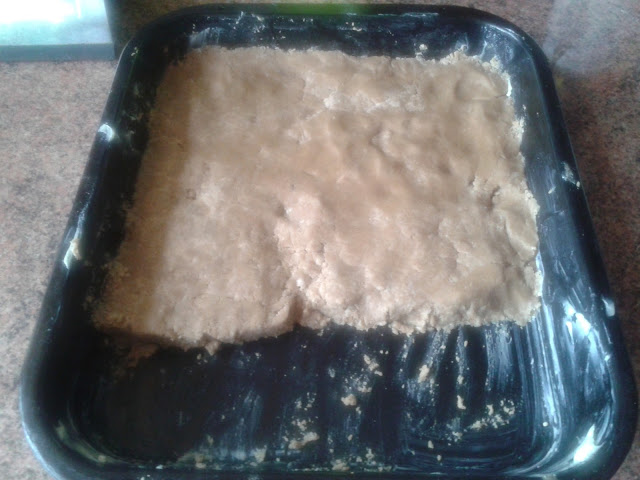
When I tipped it into the tin, I realised it would make thin shortbread if I covered the whole base of the tin. So I scooted it up to one end of the baking tin.
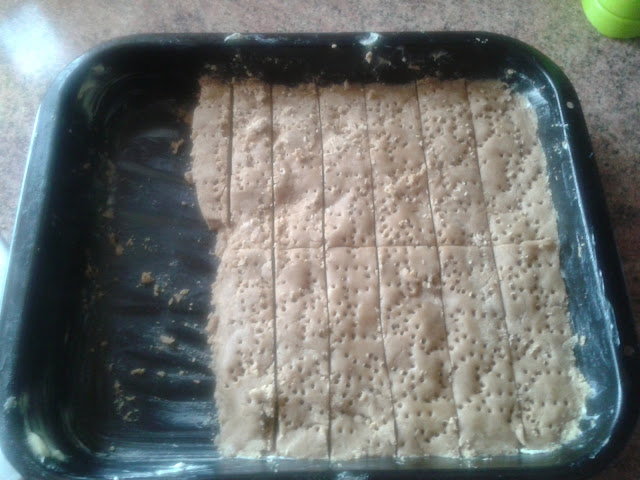
The recipe didn't say to prick it with a fork, but growing up that's what we always did to shortbread, so I went ahead and did it and marked out the fingers too.
I have a fan oven, so I went with the lower end of what would be considered a moderate oven, according to an oven temperature chart. I checked it after 35 minutes and rotated the tin for the last 10 minutes. Hmmm, maybe the scooting it up to one end of the baking tin wasn't such a smart move.
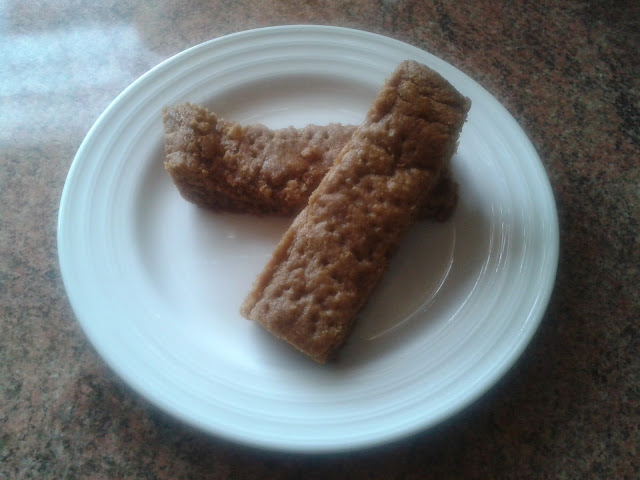
It also seems to have risen more than shortbread should, maybe I was too light handed when pricking with the fork.
And the final result? Not bad, not bad at all. Wonder if they will survive until hubby and son get home?
You can check out the sites I link up to over in my sidebar. Before you go, why not check out my recipes index page, or my craft projects index page, I am sure you will find something there to interest you.
 02:56
02:56
 Unknown







.jpg)