 14:21
14:21
 Unknown


After a recent clear up my craft room desk looked something like this:
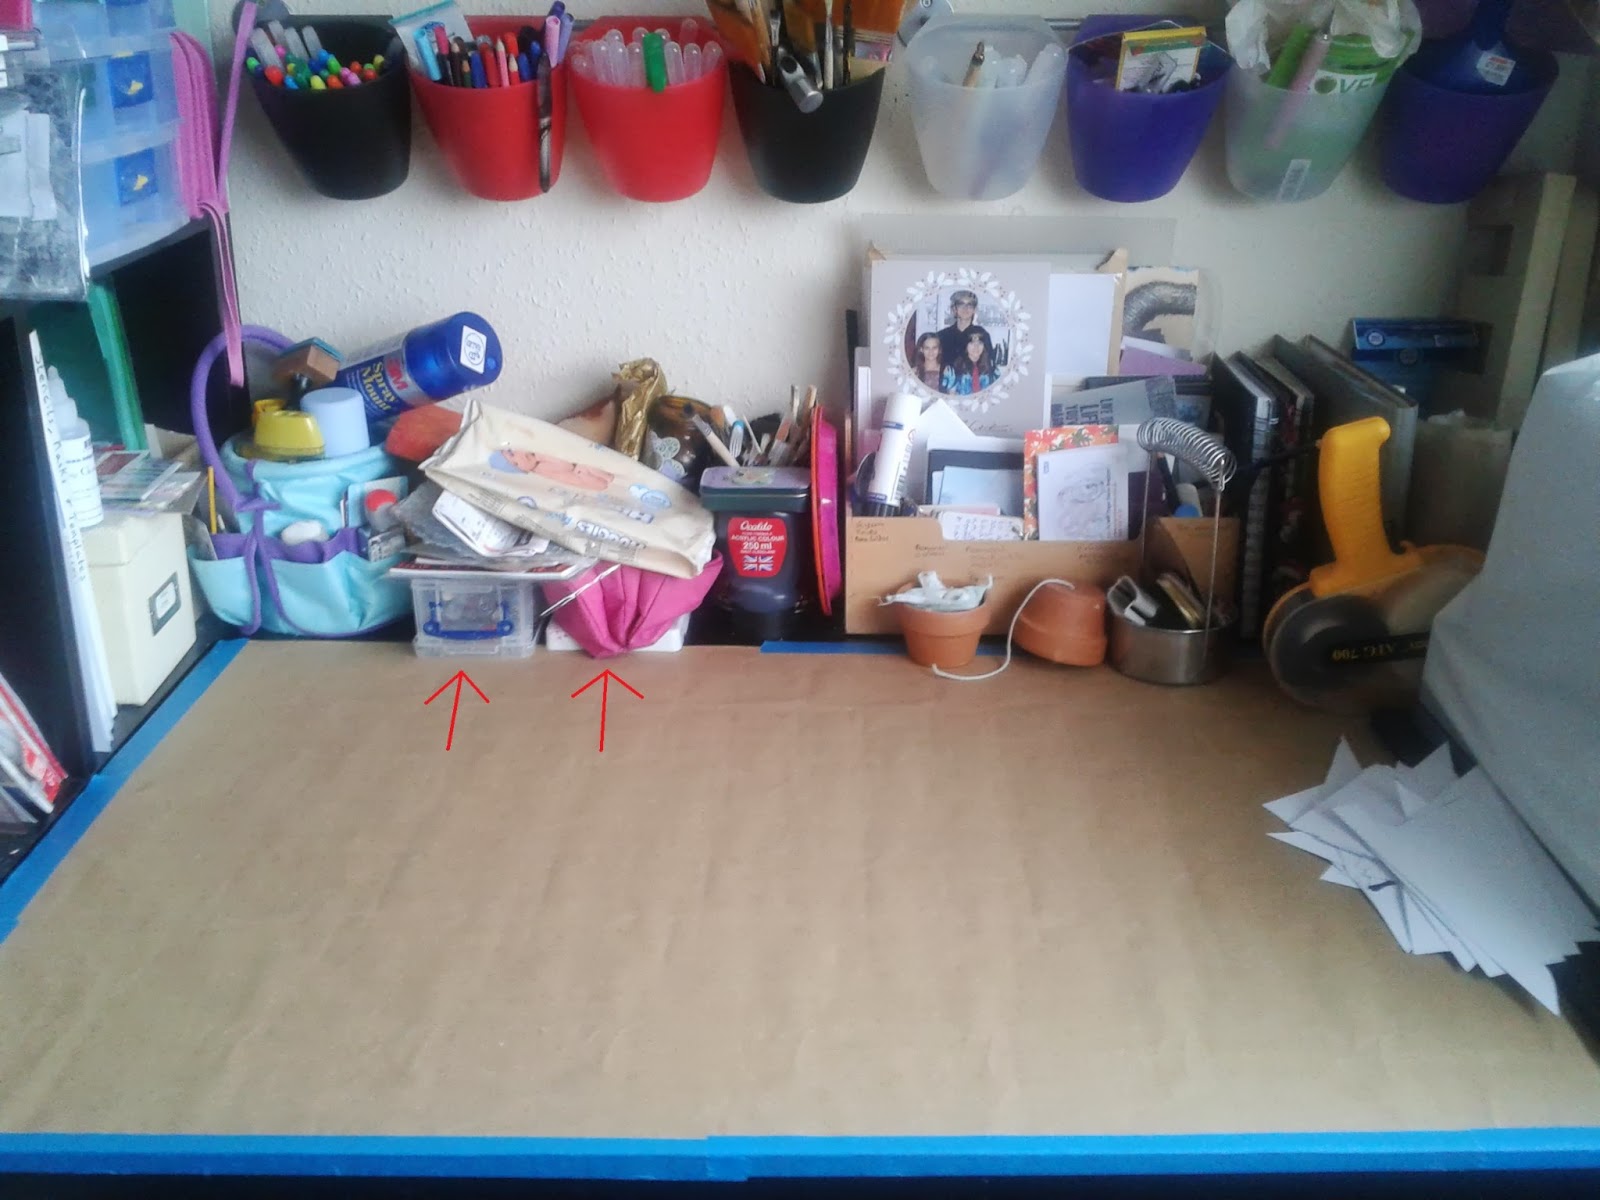
I had all the pens that can be stored upright in those pots from IKEA hanging off the rail. That was great, but there are lots of pens that have to be stored horizontally. Double ended pens, Pitt pens, etc. I had those in the box and pencil case marked by the red arrows.
That was fine, but every time I wanted a particular pen I had to sort through both the box and the pencil case to find the right one. I knew I had seen various pen storage methods, both purchased and DIY versions, so I decided to make something myself. I didn't want anything that I would have to buy too much stuff for and if I could get away without buying anything at all, so much the better. That ruled out any of the ideas made from plumbing pipe and also anything made from Pringles tubes, etc as I would have to go get those too.
Then I realised I have lots of off cuts of foam board from when we have made Bible Story props for Open the Book. So I went looking for ideas that would help me use that. I found whole Pinterest boards devoted to craft desk storage ideas made from foam board. Amazing. The site I ended up using was on My Magnolia World. I took her instructions and I changed the dimensions to fit my desk.
If you go to her site the instructions are really clear for how to put it together. Copics are shorter than a lot of the double ended pens I wanted to use and I didn't have as much space to play with as she did, so I went with these dimensions in the end:
Cut two at this size for the Top and Bottom - 5 1/2 inches * 8 1/4 inches
Cut 6 at this size for the sides and each of the shelves - 5 1/2 inches * 8 inches
Follow the instructions on the linked site and you will get a smaller unit than hers that is deeper front to back to allow for longer pens.

The unit sits in the same space the box and pencil case occupied. Well maybe with a few things pushed up just a little bit to one side. And now I can see all my pens straight away and grab exactly what I need quickly and easily. I know it doesn't look really smart, because being offcuts, some of the pieces already had paint etc on them, but it does the job and that is what matters.

Yes, that's a computer monitor on my wall. Don't I have the best husband in the world? I have a computer in my craft room now. It didn't cost us anything because it was one someone else had previously given away. Let's face it, I don't need it to do a lot up there, access the internet for craft videos, and print the occasional thing to the printer downstairs. That's about it really. He even bought me a wireless keyboard and mouse so that I don't have to take up valuable desk space with them when I am not using them.
I'll make a post later in the week about the cd rack, which is where I store my unmounted stamps and another about the text in the picture frame.
I also hope to make a post about the progress I am making with the hand made journal with fun edges I posted about the other day.
You can check out the sites I link up to over in my sidebar. Before you go, why not check out my recipes index page, or my craft projects index page, I am sure you will find something there to interest you.
 Posted in


.jpg)


0 comments :
Post a Comment