We only have a small house and as various bits of furniture have been added over the years, there has been less and less room for a tree at Christmas. So I am having to find creative ways of using our decorations. In the dining room, I decided to go with something that hangs from the ceiling.
We have a whole load of blue tree decorations from a blue phase I went through a couple of Christmases ago, and our Christmas placemats are a snow scene with blue sky. I figured blue and white was a good idea for the whole room then, so I got hubby to put up our string of blue lights and I got to work.
I knew I wanted a frame of some sort to hang from the ceiling and then hang the decorations from. I grabbed my one remaining embroidery hoop, which I no longer use, some blue and white ribbon from IKEA and a glue gun.
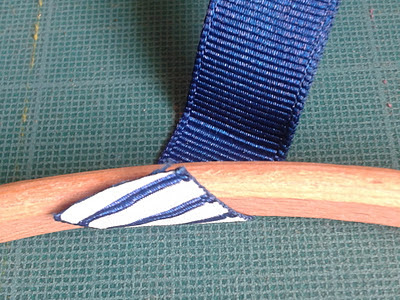
Attach the end of the ribbon to the frame with a blob of hot glue at an angle, so that you can wind the ribbon around the frame.
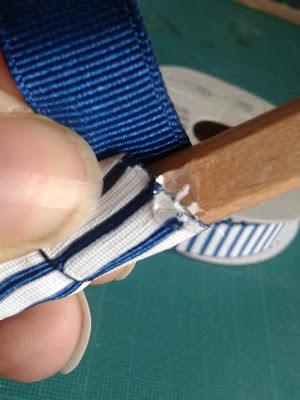
Wrap the ribbon around and around the frame, gluing every few turns.
When you get back to where you started, cut the ribbon at an angle to prevent fraying and glue down. I used an extra blob of glue over the end of the ribbon to be sure of no fraying.
And you will have something that looks a bit like this:
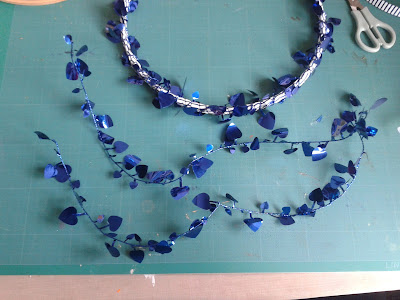
You can leave the frame like this or you can add more to it. I had some wired decoration string, that I decided to use.
Being wired it was easy to manipulate into place and only needed hot glue at the very beginning and end, although I did have to hold the wire into the glue at the end, it kept wanting to pop up out of the blob of glue before it has begun to set.
I had just enough wired thingy left to create the hanging method. You could use more ribbon, or string, or even fishing wire if you wanted that part to be less visible.
I cut two lengths
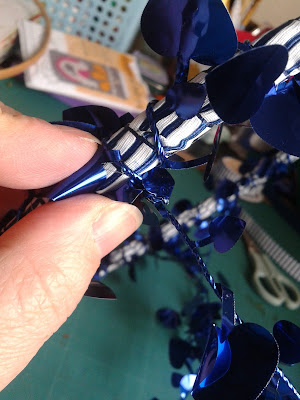
Then I attached the first one by bending the wire around the frame at one end and twisting it back around itself like a tie wrap.
Did the same at the other end on the opposite side of the hoop. I didn't measure the exact opposite point, just eyeballed it.
With the second string, I did the same, but when it crossed the other wire in the middle, I looped it once around the first wire, to keep them together.
Next I grabbed narrow ribbon and baubles. If you don't have narrow ribbon, you could use embroidery thread, fishing wire or anything else you have to hand that you think might work.
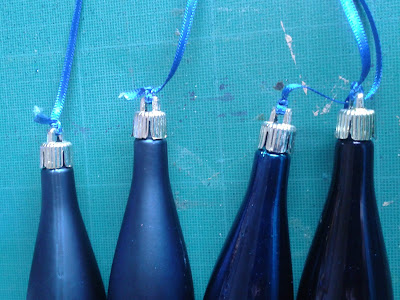
I started with the 4 long, pointy baubles. I cut off those fishing wire loops that are on them in the above picture. I cut 4 matching lengths of ribbon and tied them onto the baubles.
Tie your baubles onto the frame. I started by putting these 4 in the centre of each section created by the upper wire and then worked to fill in the gaps.
Use a variety of lengths of ribbon and keep holding it up as you work to see where you need to fill gaps.
Deciding when to stop, when you have added enough, may be the most difficult part. But in the end I did. And this is the result. I have hung it from the ceiling in the dining room, using 2 drawing pins (thumbtacks), slightly to one side of where our usual dining table is. The reason it is slightly to one side is that we have 2 smaller identical tables in there, that we push together for special occasions. When we put the tables together for Christmas dinner, it should be hanging right over the middle.
You can find the sites I link to over in the sidebar. Go check a few of them out and come back soon.
 00:33
00:33
 Unknown





 Posted in


.jpg)
0 comments :
Post a Comment