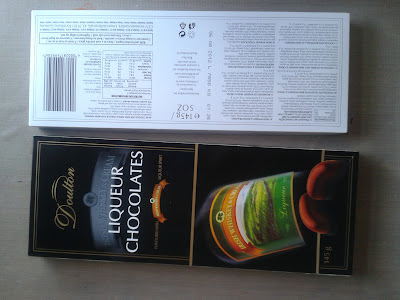
At Christmas I was given a box of these
I don't like that particular drink but did enjoy these chocolates. When they were finished I wondered what to do with the box.
I remembered that a friend has posted about covering boxes with paper.
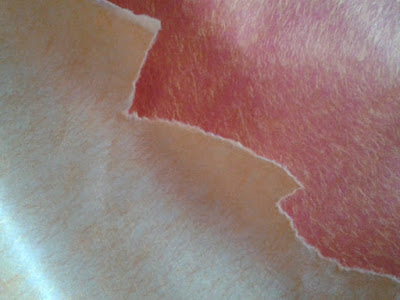
So I pulled out some paper I had stashed away quite a while ago. Gorgeous, hand made papers from PaperChase from when they had them on offer with 5 for less that the normal price of 1. Heck, as a crafter when you see a deal like that you have to take advantage right. So the paper had been stored for a while and this was the time to bring it out.
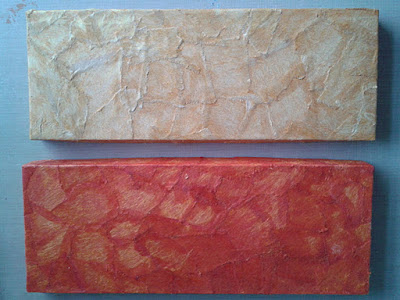
The photo doesn't do it justice, red paper with gold threads and gold paper with copper threads, gorgeous stuff. I tore the paper into pieces.
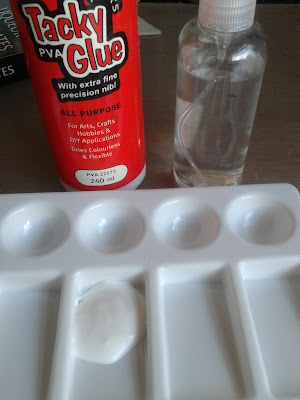
Then I grabbed some PVA glue and diluted it with water. You can go 2 parts water to 1 part glue, but in this case I probably went thicker than that, with less water.
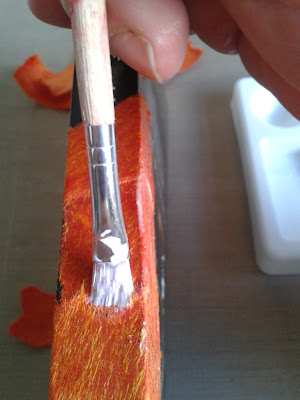
Because I didn't want to lose the effect of the threads I didn't soak the paper with the glue mixture, I brushed it onto the back of each piece.
Place each piece of paper onto the box, covering the whole surface, right to the edges, turning under at the edges, to the inside of the box.
Use more glue at the edges of each piece on top to secure it well. You could glue the whole surface but I found that meant the threads in the paper didn't show as well, so I just worked the edges in this way.

I used the gold paper for the bottom of the box and the red paper for the lid. I don't know what I am going to do with this box yet, but it appears to be just the right size for crayons.
At the bottom right of the lid, you can see what I mean about the gold threads on the red paper losing definition when too much glue was applied.
You can check out the sites I link up to over in the side bar.
I don't like that particular drink but did enjoy these chocolates. When they were finished I wondered what to do with the box.
I remembered that a friend has posted about covering boxes with paper.
So I pulled out some paper I had stashed away quite a while ago. Gorgeous, hand made papers from PaperChase from when they had them on offer with 5 for less that the normal price of 1. Heck, as a crafter when you see a deal like that you have to take advantage right. So the paper had been stored for a while and this was the time to bring it out.
The photo doesn't do it justice, red paper with gold threads and gold paper with copper threads, gorgeous stuff. I tore the paper into pieces.
Then I grabbed some PVA glue and diluted it with water. You can go 2 parts water to 1 part glue, but in this case I probably went thicker than that, with less water.
Because I didn't want to lose the effect of the threads I didn't soak the paper with the glue mixture, I brushed it onto the back of each piece.
Place each piece of paper onto the box, covering the whole surface, right to the edges, turning under at the edges, to the inside of the box.
Use more glue at the edges of each piece on top to secure it well. You could glue the whole surface but I found that meant the threads in the paper didn't show as well, so I just worked the edges in this way.

I used the gold paper for the bottom of the box and the red paper for the lid. I don't know what I am going to do with this box yet, but it appears to be just the right size for crayons.
At the bottom right of the lid, you can see what I mean about the gold threads on the red paper losing definition when too much glue was applied.
You can check out the sites I link up to over in the side bar.
 02:39
02:39
 Unknown




 Posted in


.jpg)
0 comments :
Post a Comment